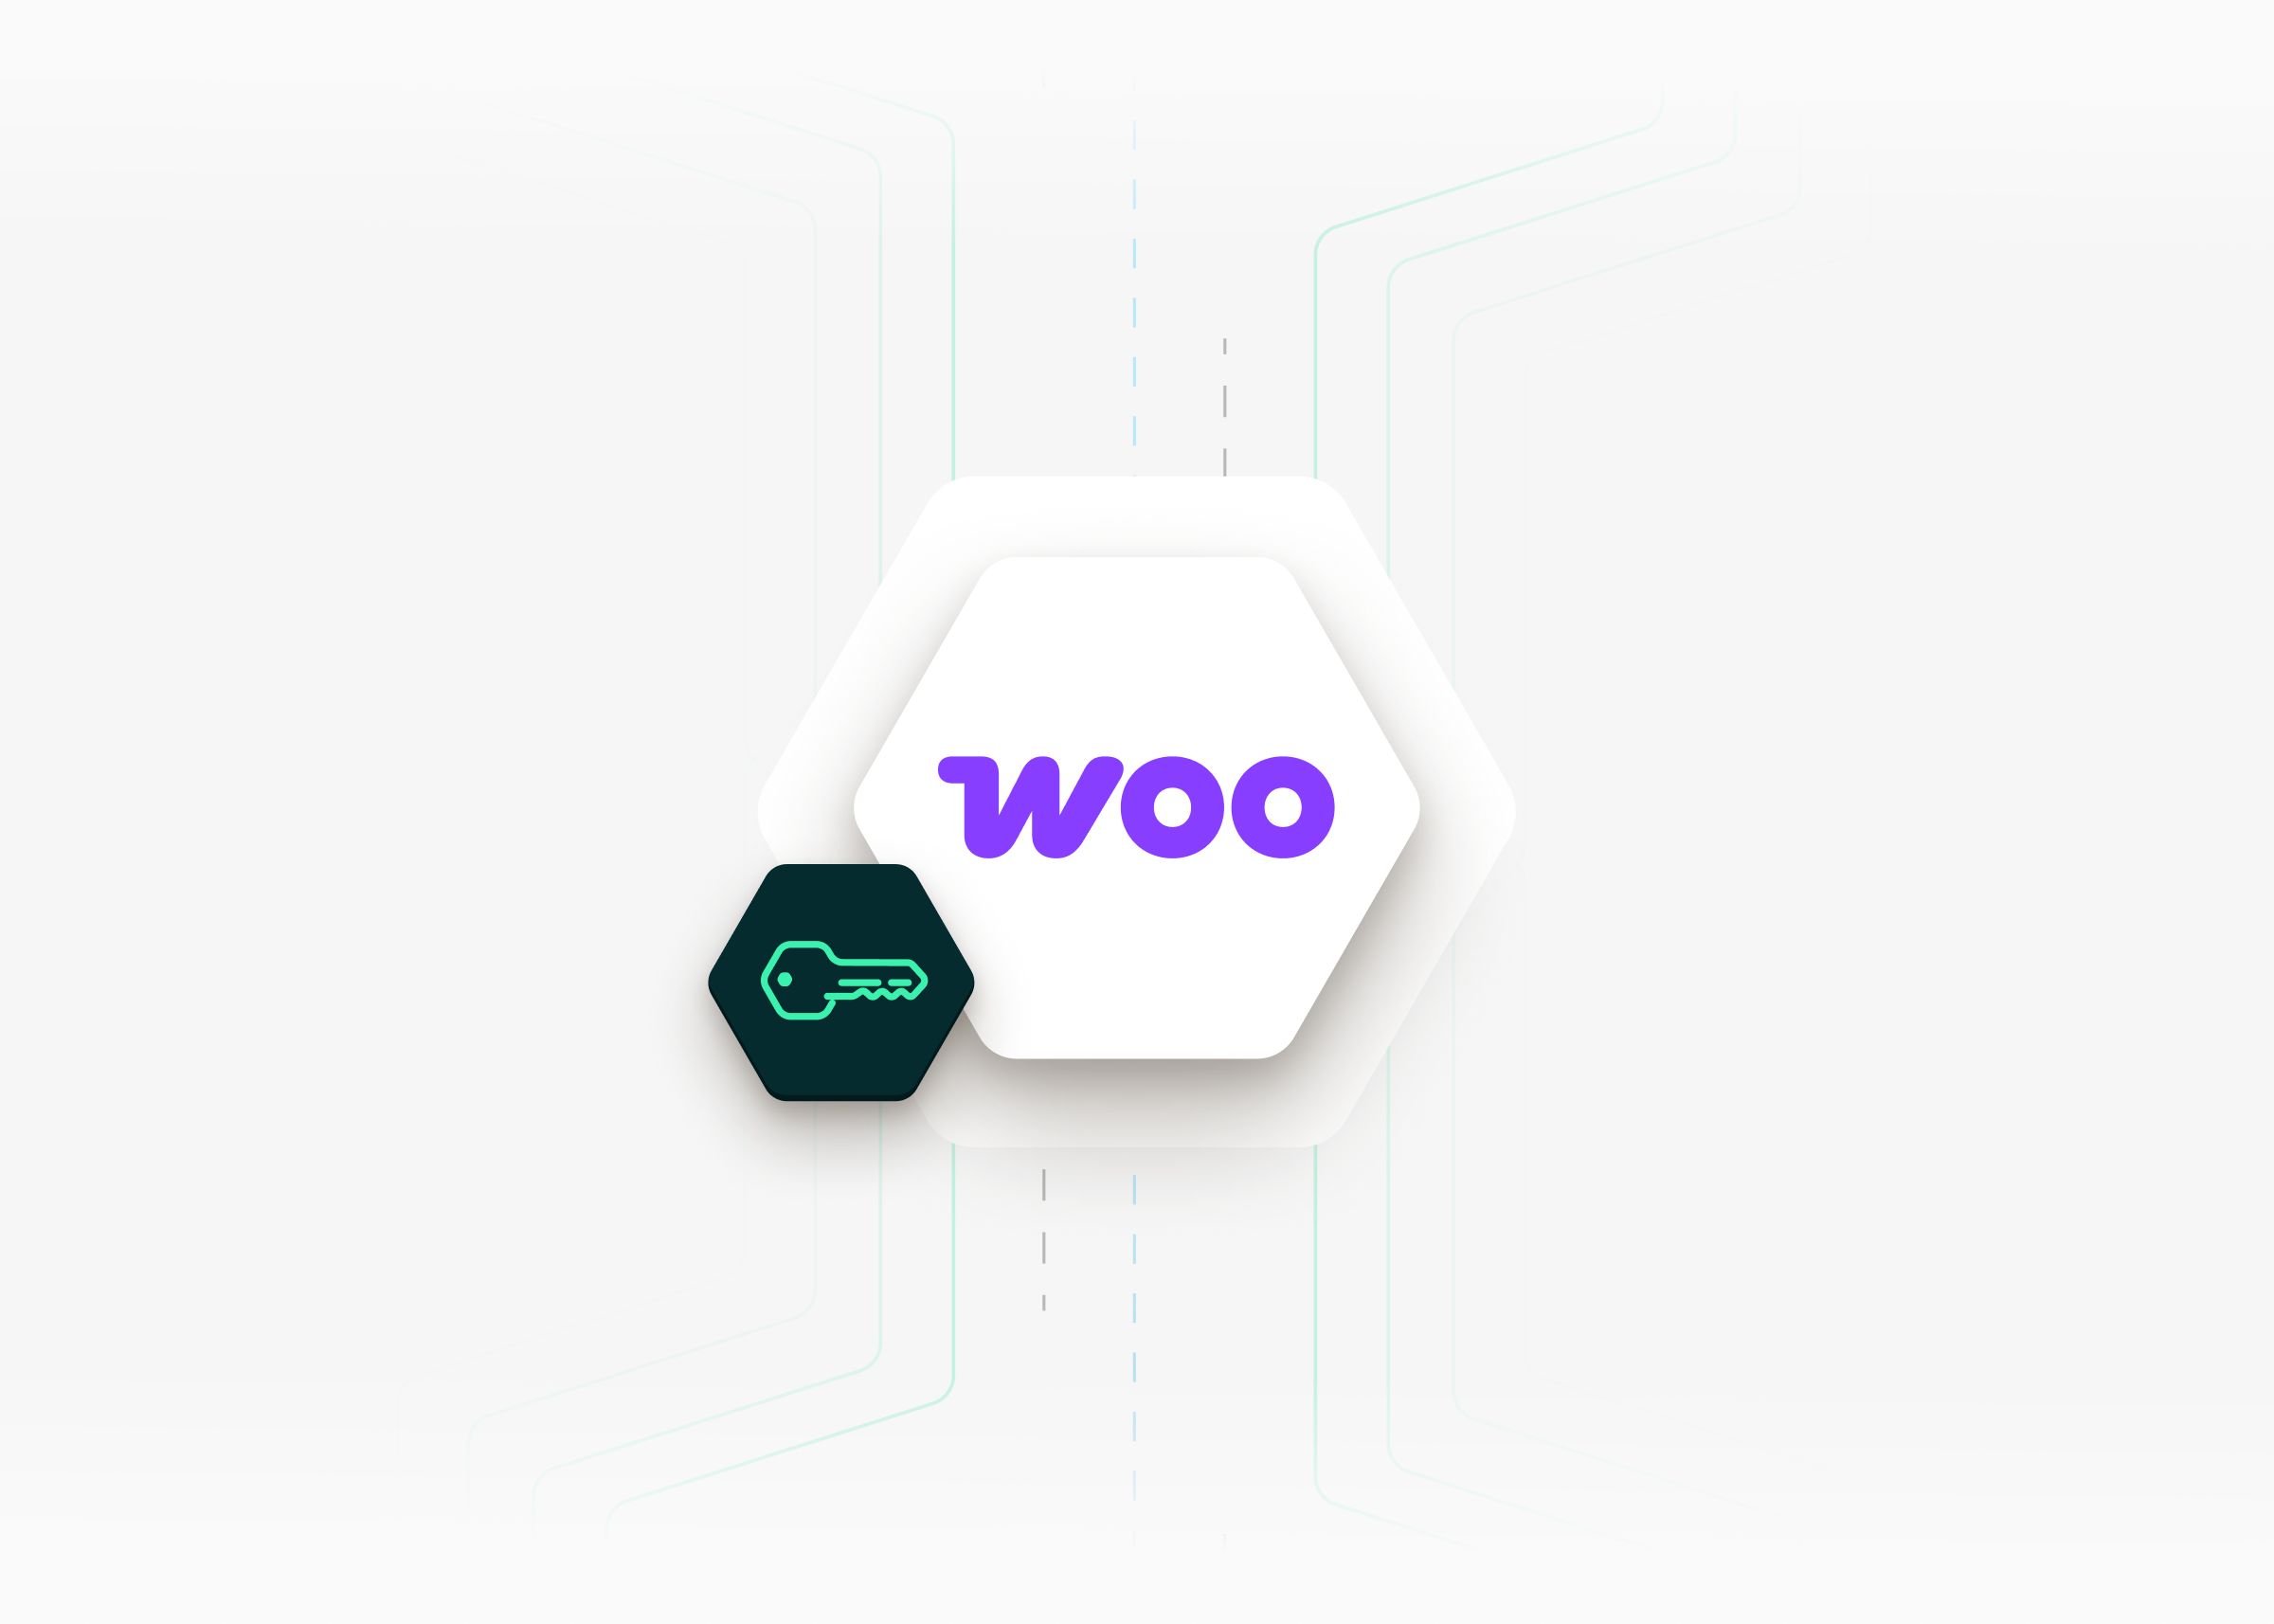
Connecting WooCommerce to your application opens up powerful automation opportunities for your users from syncing orders to accounting software to automating invoice generation. This guide walks you through generating API credentials from a WooCommerce store.
If you need more information on how to integrate Woocommerce read our guide on it.
Step 1: Enable the Legacy REST API (WooCommerce 9.0+)
If the store is running WooCommerce 9.0 or above, install the WooCommerce Legacy REST API plugin from the WordPress Plugins menu and activate it. Then go to WooCommerce → Settings → Advanced → Legacy API and make sure the toggle is enabled.
Earlier versions of WooCommerce do not require this step.
Step 2: Create a new API key
In the WooCommerce admin, go to WooCommerce → Settings → Advanced → REST API and click Add key.
Step 3: Configure and generate
Give your key a description, set the permissions to Read/Write, and click Generate API key.
Step 4: Copy your Consumer Key and Consumer Secret
Your Consumer Key and Consumer Secret are displayed on screen. Copy both immediately, they won't be shown again.
You'll also need your store URL (e.g. https://mystore.com) to complete the connection in Chift.
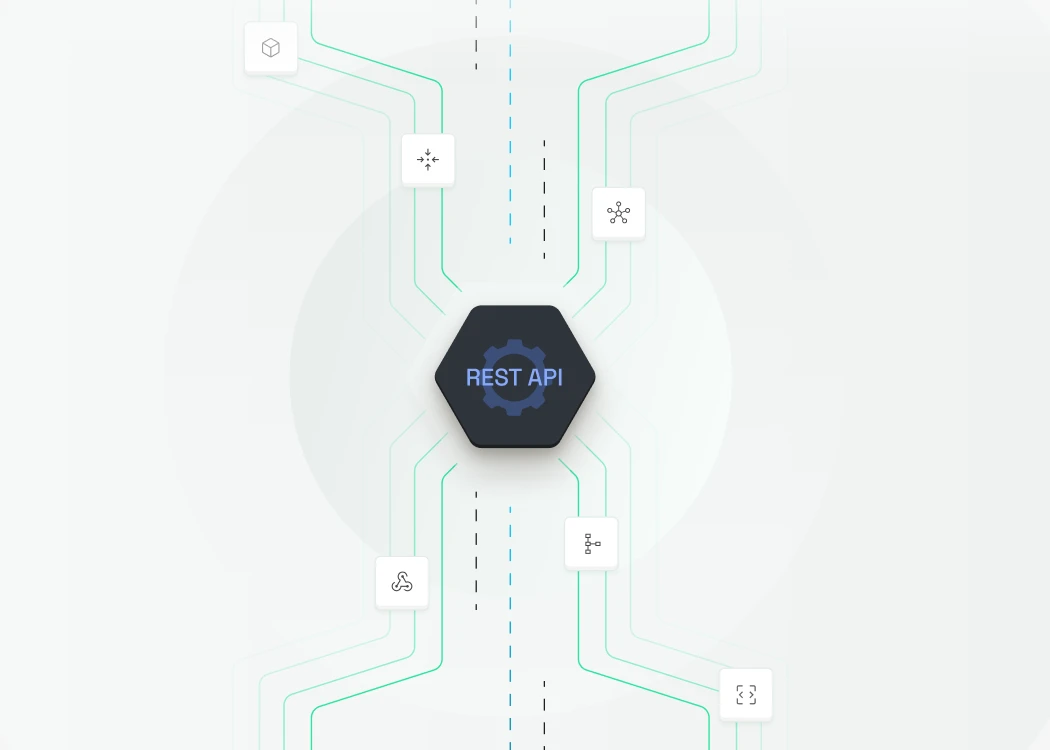
Curious about how you can use Chift's Unified Ecommerce API for your integrations? Reach out to our team for a demo.


.jpg)
.jpg)
.jpg)
.jpg)


.jpg)
.webp)
.webp)

.jpg)
.jpg)


.webp)

.jpg)
.webp)


.avif)


