.webp)
PayPal is one of the world's most widely used payment platforms, and millions of businesses rely on it to get paid, send invoices, and keep track of their cash. If your software serves those businesses, connecting to PayPal lets you:
- Retrieve invoices, their status, and line-item details automatically
- Pull payment and balance data for reconciliation and reporting
- Access product and catalog data tied to invoices
- Cut manual data entry and reduce errors for your users
This guide covers how the PayPal API works, the use cases it unlocks, how to set it up, and the best practices worth knowing. And since PayPal sits in both Chift's Unified Payment API and Unified Invoicing API, we'll also show you how to skip the heavy lifting entirely.
What is the PayPal API?
PayPal exposes a RESTful API that returns JSON and uses standard HTTP methods. It's actually a set of APIs organized by domain. For invoicing and payment use cases, the ones that matter most are:
- Invoicing API (v2) (
/v2/invoicing/), to search, create, and retrieve invoices. One thing to note: listing invoices uses a POST-based search endpoint (/v2/invoicing/search-invoices) rather than a traditional GET, which is an unusual design choice. - Catalog Products API (v1) (
/v1/catalogs/products), to retrieve product and item catalog data. - Reporting API (v1) (
/v1/reporting/balances), used for connection testing through a balance check. - OAuth2 API (v1) (
/v1/oauth2/token), which handles authentication.
Authentication runs on a pseudo-OAuth2 flow. You authenticate with your client_id and client_secret via HTTP Basic Auth to obtain a Bearer token. There's no user-facing authorization redirect, so it's essentially a Client Credentials grant. PayPal also runs two environments, Sandbox and Production, with identical behavior and only a different base URL.
Key data you can access includes invoices (with statuses, amounts, and line items), payments, product catalog data, and account balances. Invoice search supports filtering by date ranges and statuses, with page-based pagination of up to 100 items per page.
Official documentation: developer.paypal.com
Connect to all popular solutions with a single integration
Discover how Chift's Unified APIs have helped software vendors quickly add dozens of integrations.
Examples of PayPal API integration use cases
Connecting to PayPal opens up practical automations for any product that works with financial data. Here's how software companies put PayPal invoice and payment data to work through Chift.
Power instant lending decisions with invoice and payment data
Business lenders can retrieve open invoices, payment history, and outstanding amounts to assess a company's financial health in real time. Richer data means faster, better-informed credit decisions, and loan eligibility answers in under a minute.
.jpeg)
Find out more in Defacto's case study.
Scale payment and invoicing connectivity for pre-accounting platforms
Pre-accounting platforms like Inqom connect to PayPal alongside dozens of other tools to gather payment and invoicing data in one place. One integration to Chift lets them add new sources quickly, without building and maintaining each connection from scratch.
.jpeg)
Discover the case study: How Inqom rapidly scales POS, Invoicing and Payment connectivity with Chift.
Cashflow monitoring and forecasting
Cashflow management tools can pull open invoices and payment status from PayPal to build an accurate, forward-looking view of a business's cash position. When a payment lands, the forecast updates, so users always see what's really coming in.
.jpeg)
For more examples of how payment and invoicing integrations can improve your product, explore our Chift case studies.
Setting up your PayPal API integration
Getting started with PayPal takes just a few steps:
- Create a PayPal Developer account and open the PayPal Developer Dashboard.
- Create an App under "Apps & Credentials". This generates your
client_idandclient_secret. - Enable the Invoicing feature for your app in the dashboard. Without it, the API returns 406 permission errors.
- Choose your environment: Sandbox for testing, Production for real data.
- Provide the credentials (
client_id,client_secret, and environment) in your Chift connection setup. Chift handles token generation and renewal for you.
No webhook setup is required for the current integration. Data is fetched on demand through polling and caching.
The API itself is developer-friendly, but a production-grade integration needs more than a first successful call. You'll want consistent data normalization, token renewal, error handling, and multi-tenant management across every one of your users. That's the part that quietly eats engineering time, and it's exactly where Chift comes in.
Best practices for PayPal API integration
A few things worth getting right from day one:
- Develop against Sandbox first. PayPal provides a fully functional sandbox with test accounts. Switch to Production only when you go live, the only difference is the base URL.
- Handle the search endpoint carefully. Listing invoices means a POST to
/v2/invoicing/search-invoiceswith filters in the request body, not a simple GET. Always passtotal_required=trueandtotal_count_required=trueas query params to get accurate pagination info. - Plan for invoice statuses. PayPal invoices carry many statuses (DRAFT, SENT, SCHEDULED, PAID, UNPAID, PARTIALLY_PAID, CANCELLED, REFUNDED, and more). Filtering by a payment status often means querying several status combinations, a single "unpaid" filter can require two separate calls covering different status groups.
- Fetch line items individually. The search endpoint returns invoice summaries without line-item detail. To get full data (lines, amounts, payments), call
GET /v2/invoicing/invoices/{id}per invoice. Factor this in when you estimate API usage. - Check your app permissions. A 406 error almost always means the Invoicing feature isn't enabled in "Apps & Credentials", not a malformed request.
- Respect rate limits. Keep calls under roughly 30 requests per second, and add exponential backoff and caching for high-volume usage, especially around the search endpoint.
Connect to PayPal, Stripe, Mollie, and more with a single integration
Building a direct connection to PayPal takes time, effort, and ongoing maintenance, especially once you also need to support other payment and invoicing tools your users rely on.
With Chift's Unified Payment API and Unified Invoicing API, you connect once and access PayPal, Stripe, Payplug, Mollie, Axonaut, Qonto, Sellsy, and many more through one consistent data model.
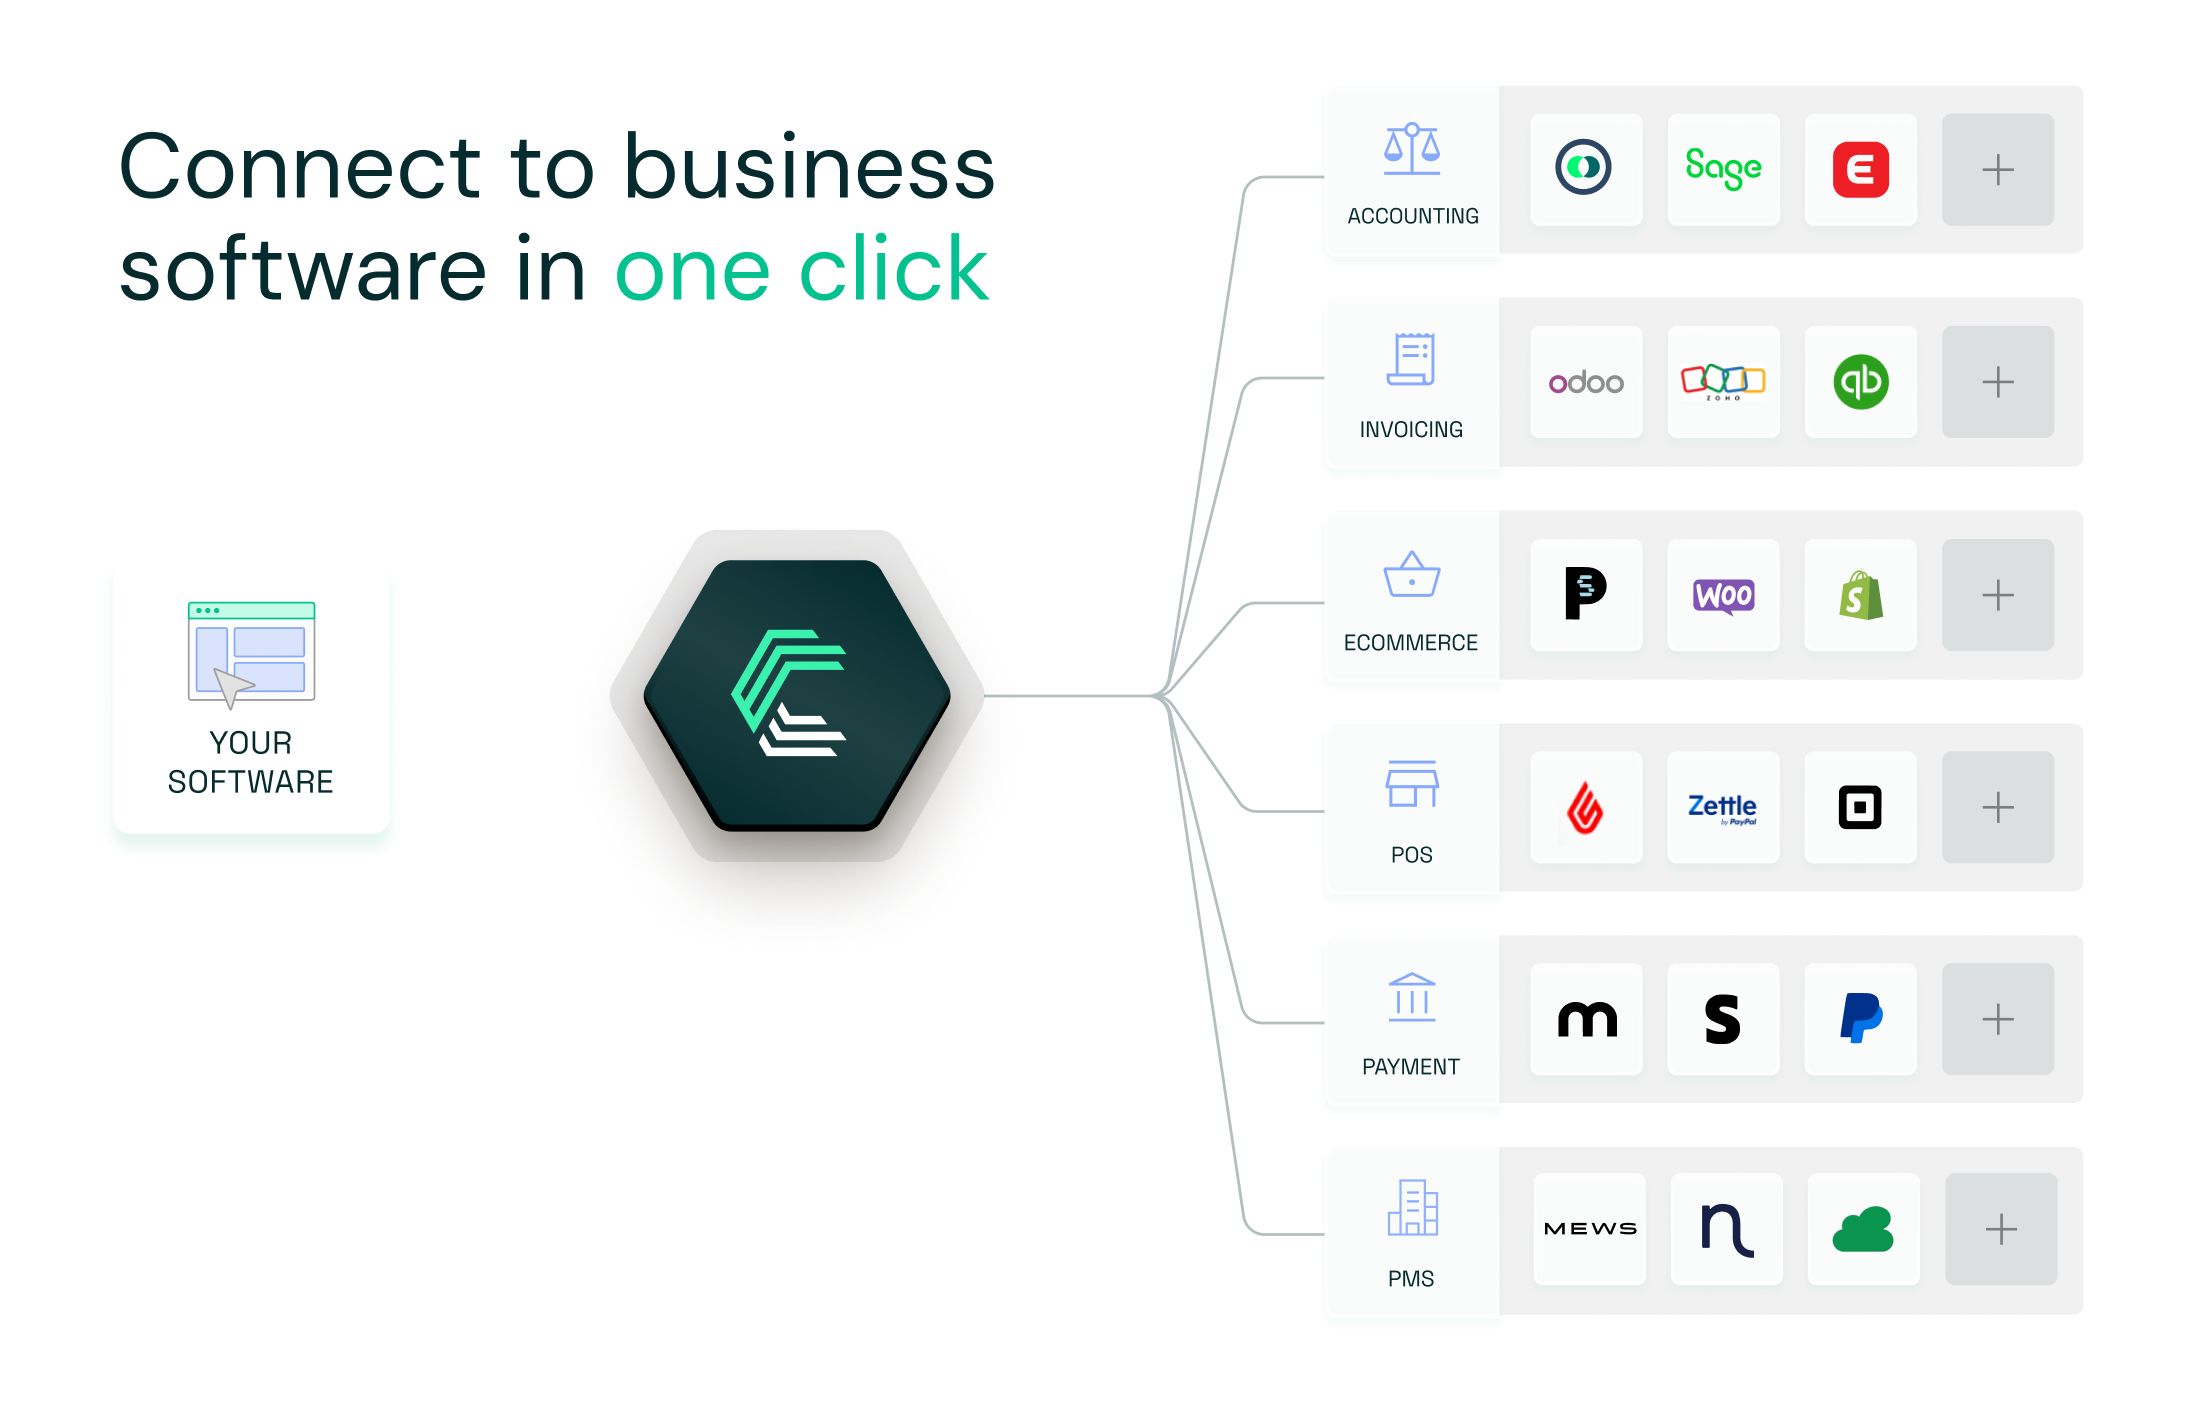
- Single integration for dozens of payment and invoicing tools
- Built-in support for authentication, pagination, and rate limits
- Unified and standardized data
- On-demand sync with caching and advanced monitoring
- A seamless experience for your users
We do the integrations. You do you.
PayPal API FAQ
What endpoints are included in the PayPal API?
Through Chift, PayPal is available in the Unified Payment API and the Unified Invoicing API, exposing a standardized set of endpoints, including (but not limited to):
- Invoices
/invoices - Payments
/payments - Products
/products - Balances
/balances
Consult our PayPal API documentation for a full list of available routes.
What are the PayPal API rate limits?
PayPal doesn't publish granular per-endpoint rate limits. Limiting is applied per app and varies by endpoint and account standing, and the Invoicing API is known to be more restrictive, excessive calls to the search endpoint can trigger HTTP 429 (Too Many Requests) responses. As a general rule, keep calls under about 30 requests per second, and use exponential backoff and caching for high-volume workloads. Chift's connector handles this for you through its caching layer. You can read PayPal's own guidance in their rate limiting reference.
How do I get my PayPal API credentials?
Here's the quick version:
- Go to the PayPal Developer Dashboard and log in with your PayPal Business account (or create one).
- Open Apps & Credentials and toggle between Sandbox and Live depending on your needs.
- Click Create App, give it a name, and select the associated sandbox account.
- Copy your Client ID (visible) and Secret (click "Show" to reveal).
- Under the app's feature settings, make sure Invoicing is enabled.
Those are the credentials you'll drop into your Chift connection. We'll cover the full process in a dedicated guide soon.
.webp)